Guide for the company owner
From the first sign-in to the first ride: profile, brand, people and roles, vehicles and paperwork, prices, money and publishing the apps — in the order you actually go.
The company owner (OWNER) sees everything in the console at /company/. This order is the shortest path to the first ride; each step matches one area in the navigation.
1. First sign-in
- Open
/company/and sign in with the e-mail and the temporary password the platform gave you. - The console must ask for a new password (at least 12 characters). Set it and remember it — passwords are never e-mailed.
- Check that the header shows your company name; if it does not, contact the platform before going further.
2. Company profile (legal data)
Company → Company profile: legal name, address, city, tax id, e-mail, phone, pickup radius and legal texts. This data goes onto receipts and into the apps, so it is not filled in “quickly”.
3. Brand and apps
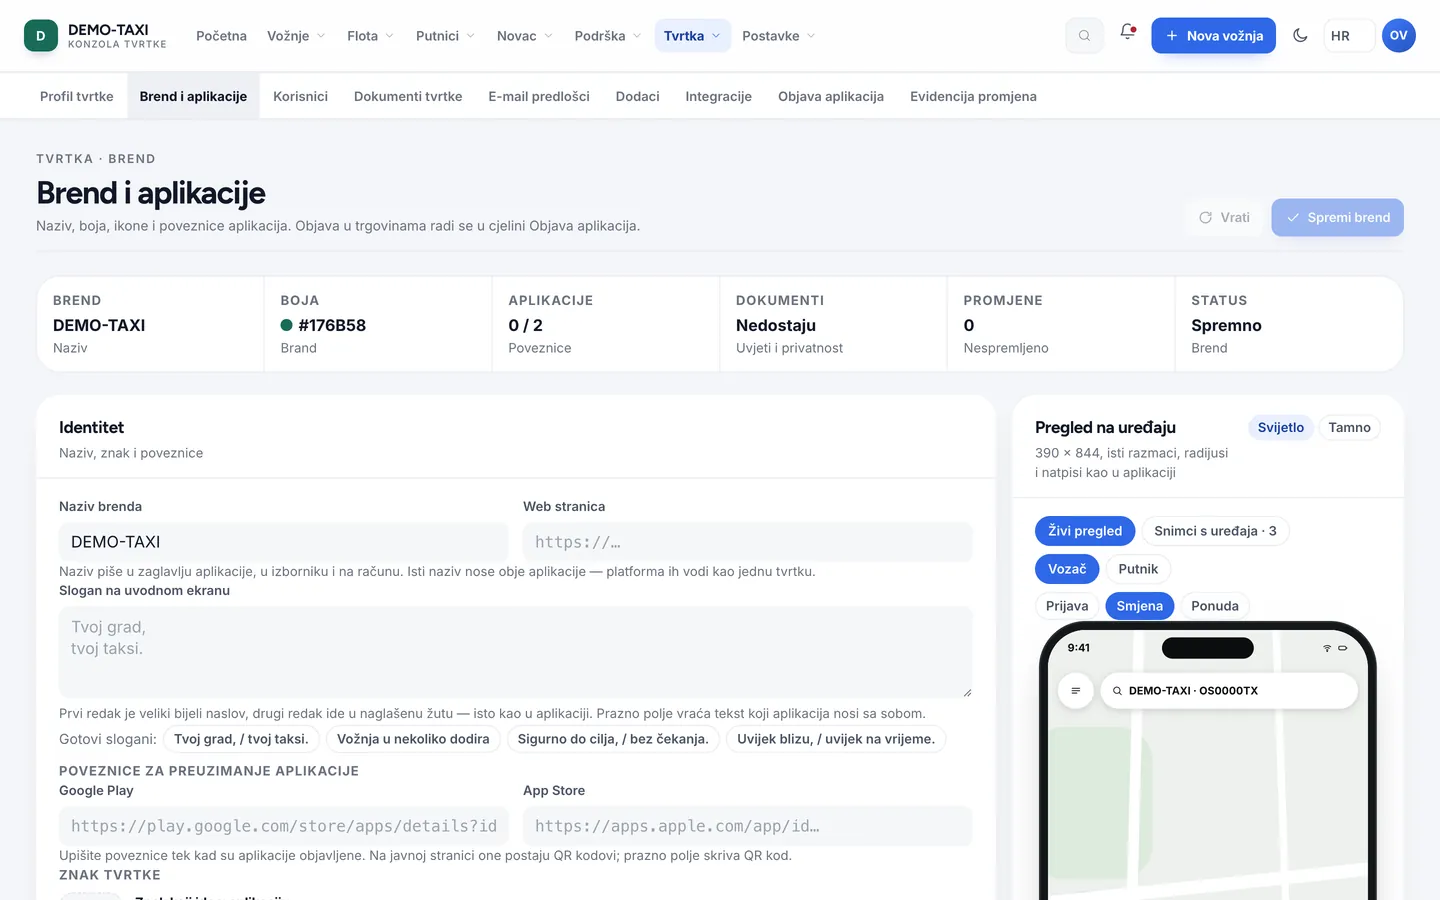
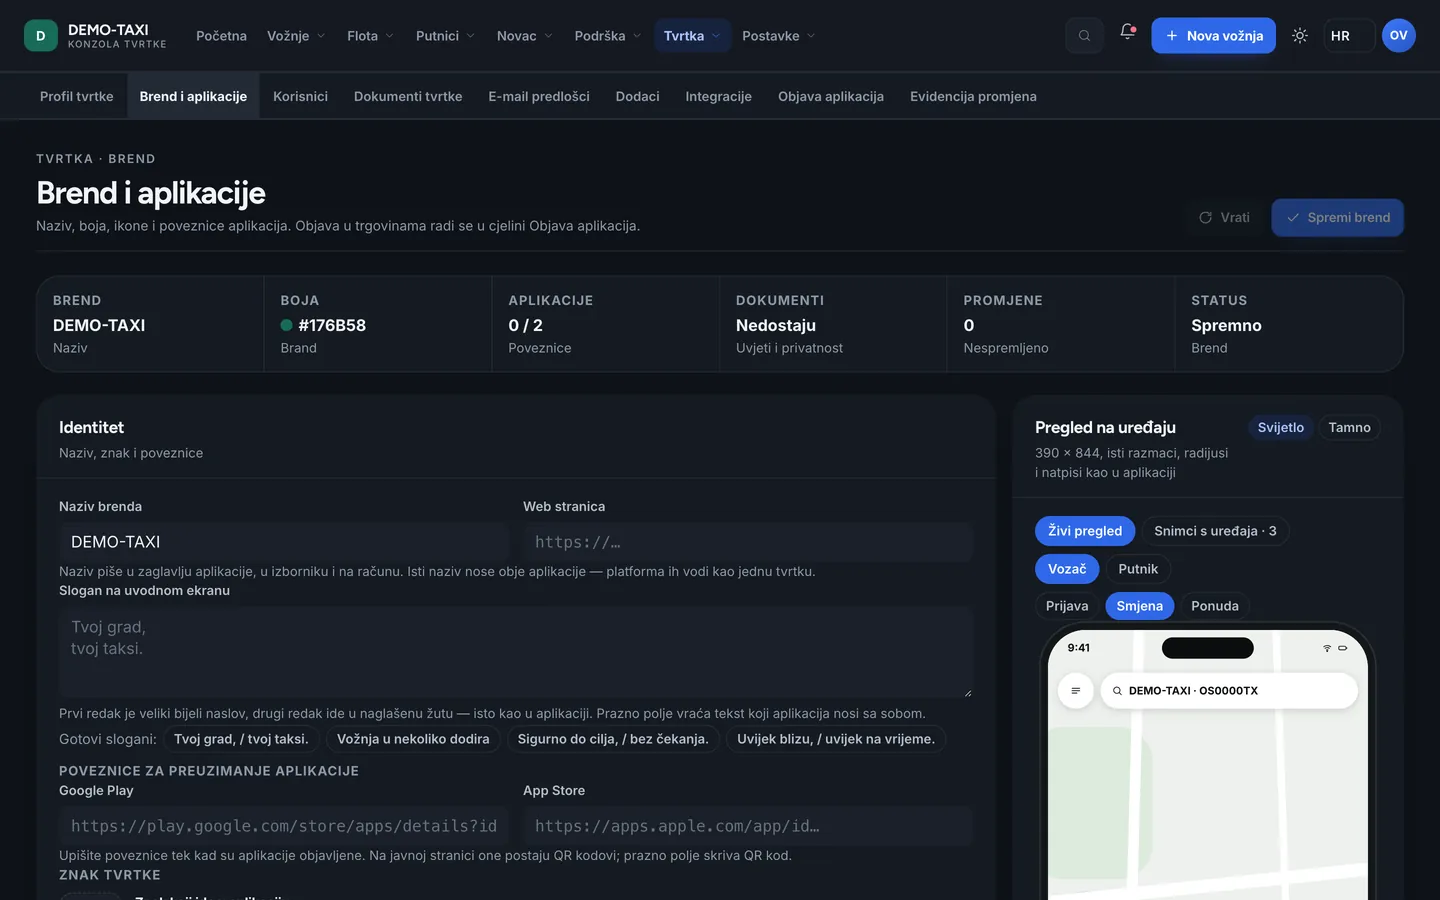
- Company → Brand and apps: pick the colour, enter the display name and tagline, upload the logo and icon.
- The wizard shows the real screens of both apps in your colours before saving — check them before you save.
- Save. Name, colour, logo and tagline take effect immediately: apps fetch them on start, without a new version.
4. People and roles
| Role | What they see | Who it is for |
|---|---|---|
OWNER | Everything, including brand, users, releases and invoices | Owner or director |
DISPATCHER | Rides, board, map, dispatch, fleet | Office dispatcher |
OPERATOR | Call centre and phone bookings | Phone operator |
ACCOUNTANT | Reports, payments and settlement | Accounting |
- Company → Users: add a person (name, e-mail, role). The system sends an invitation; the person sets their own password.
- Do not hand out
OWNER“just in case” — any owner can change the brand and publish apps. - When someone leaves, deactivate the account; do not delete it, because the audit log must stay readable.
5. Drivers, vehicles and documents
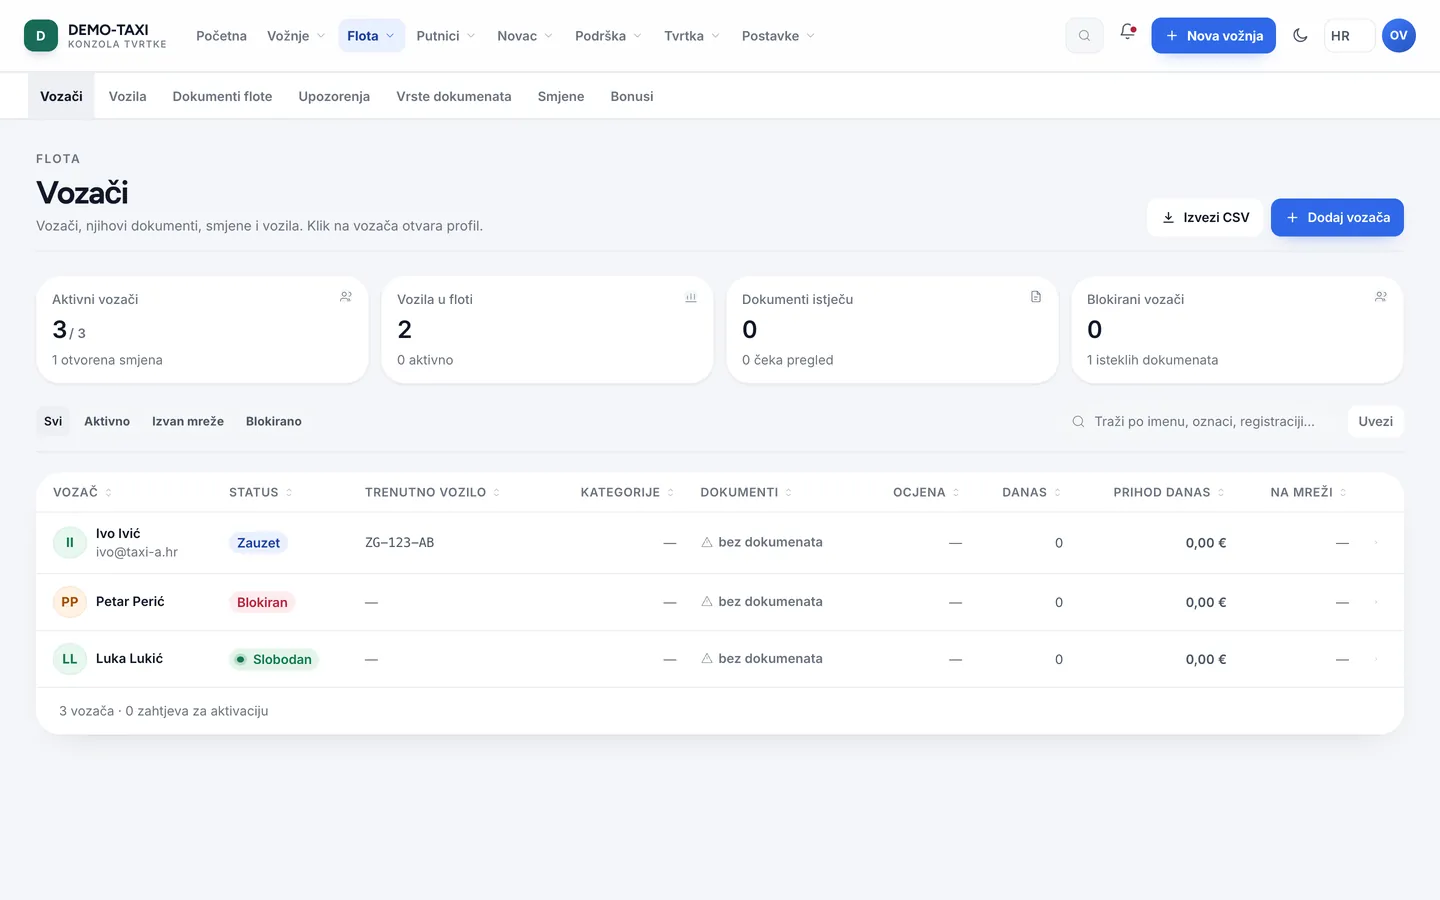
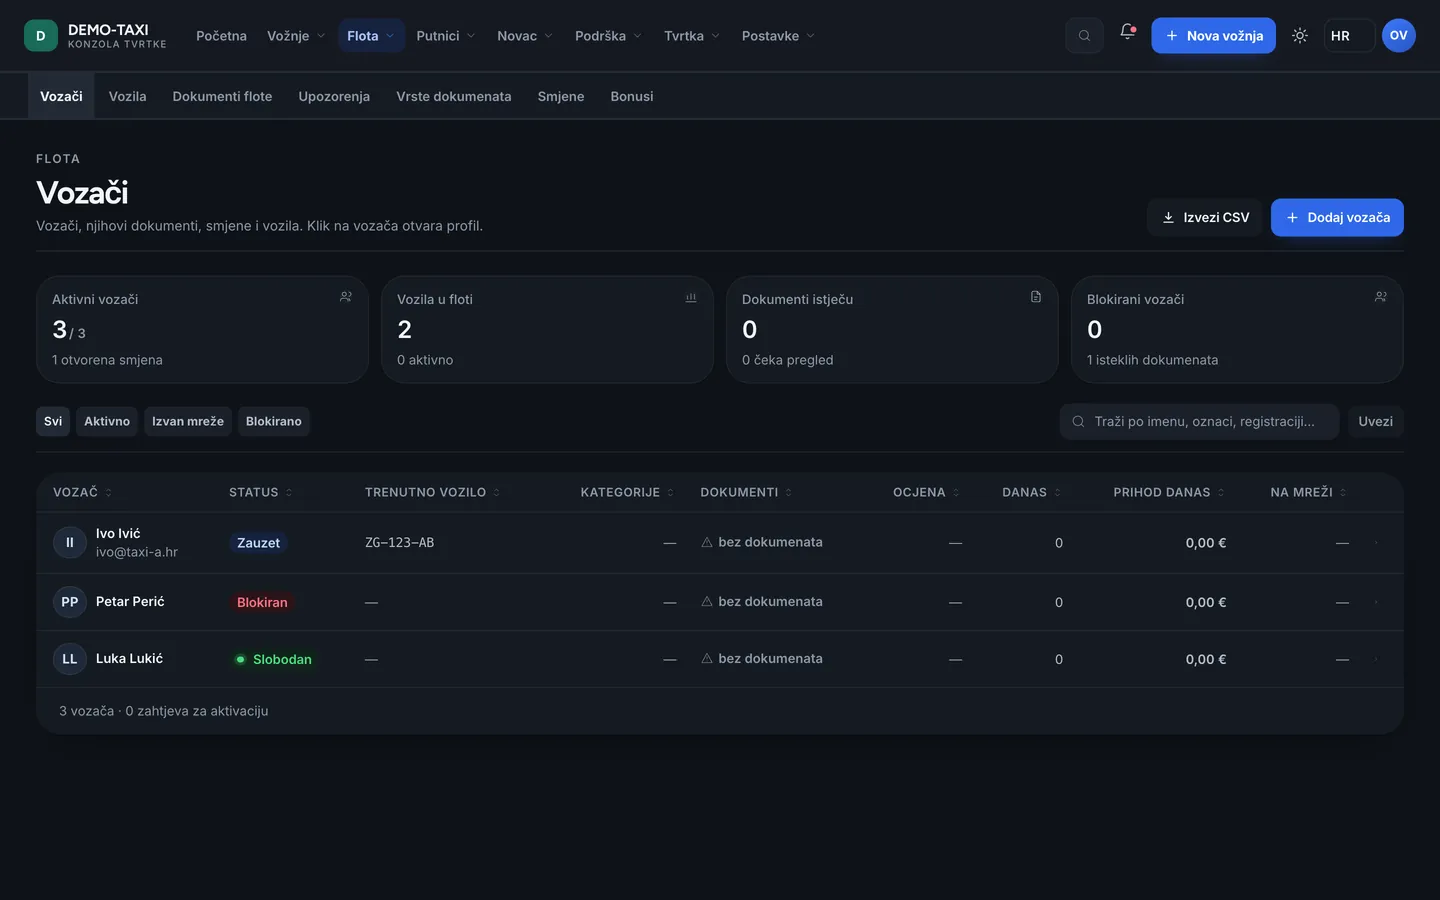
Fleet has seven pages: Drivers, Vehicles, Fleet documents, Document types, Alerts, Shifts and Bonuses. The entry order is: document types → driver → vehicle → documents.
- Document types: what your company requires (registration, insurance, inspection, taxi permit…). Decide whether a document expires and whether it warns before expiry.
- Drivers: add a driver (name, phone, e-mail, categories). The driver gets access to the driver app.
- Vehicles: plate, make and model, class, seat count. A vehicle is activated when its documents are in order.
- Fleet documents: upload the files; without valid documents a driver cannot start a shift and the vehicle is not offered for rides.
6. Pricing, zones and rules
- Settings → Pricing: for each service type (Standard, Comfort, Start…) enter the base fare, price per kilometre, price per minute, multiplier and payment methods.
- Settings → Zones: draw zones on the map. A zone carries the permit and the pickup area, and demand inside a zone raises the multiplier only for that zone.
- Settings → Holidays and Coupons: working hours and promo codes. A holiday changes the price without a code change.
- Settings → Fiscalisation: certificate, tax id, premises and device, operator and production mode. Without it (in Croatia) the gate does not release the company.
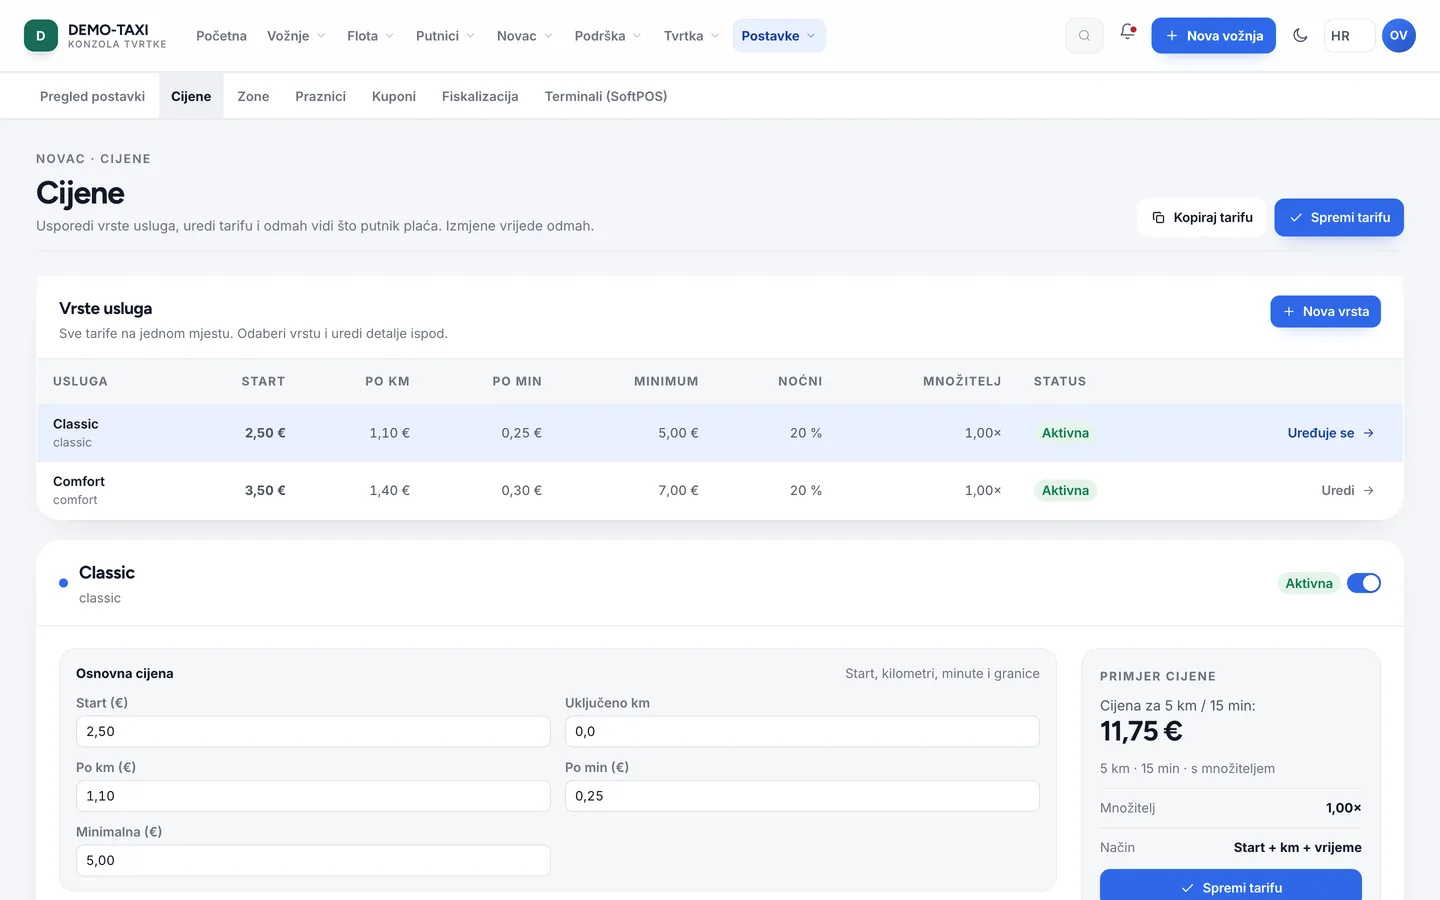
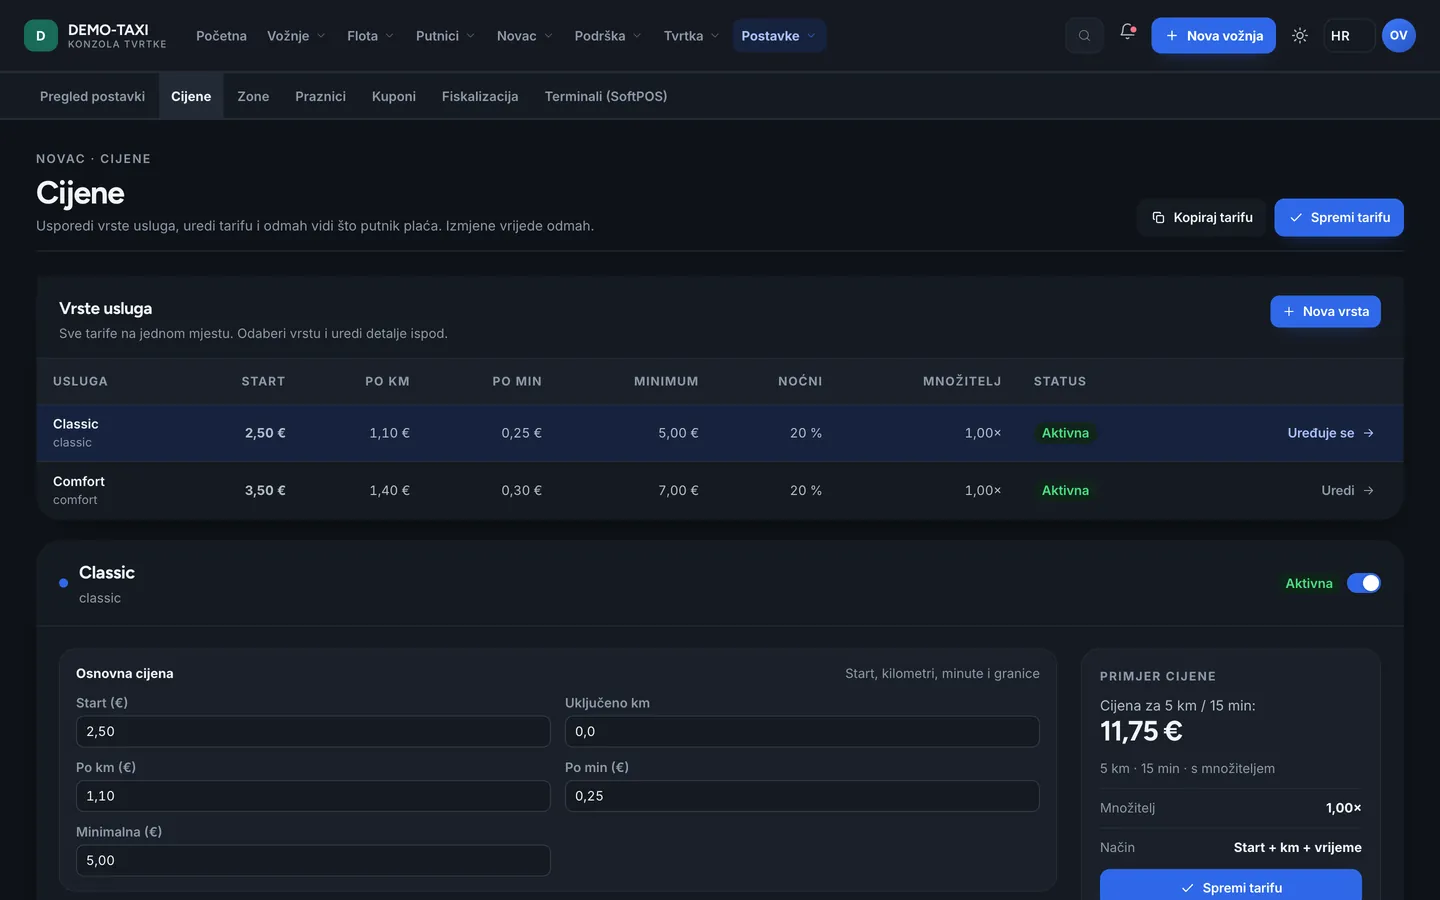
7. Money and settlement
- Money → Reports: revenue by day, service type and payment method, with export for accounting.
- Money → Payments: card payments and refunds; status per transaction.
- Money → Settlement: commission, bonuses, penalties, balance and payout per driver. The amount the driver sees in the app comes from here.
8. Publishing the apps to the stores
Company → Store release (owner only, and it opens with the addon.store_launch_support module): store listing, icon, screenshots, description, category and a link to the privacy policy. The Google Play and App Store accounts are yours, not the platform’s.
9. Check before the first ride
- Home → the Company readiness card must be green (12/12).
- Open a shift on a test driver and run a test ride: booking → assignment → pickup → completion → receipt.
- Check that the receipt carries fiscal data and appears in Settlement.
- Check that both apps show your name, colour and logo.